TanStack Query with Next.js App Router, covering setup, server state management, and mutations.
Introduction
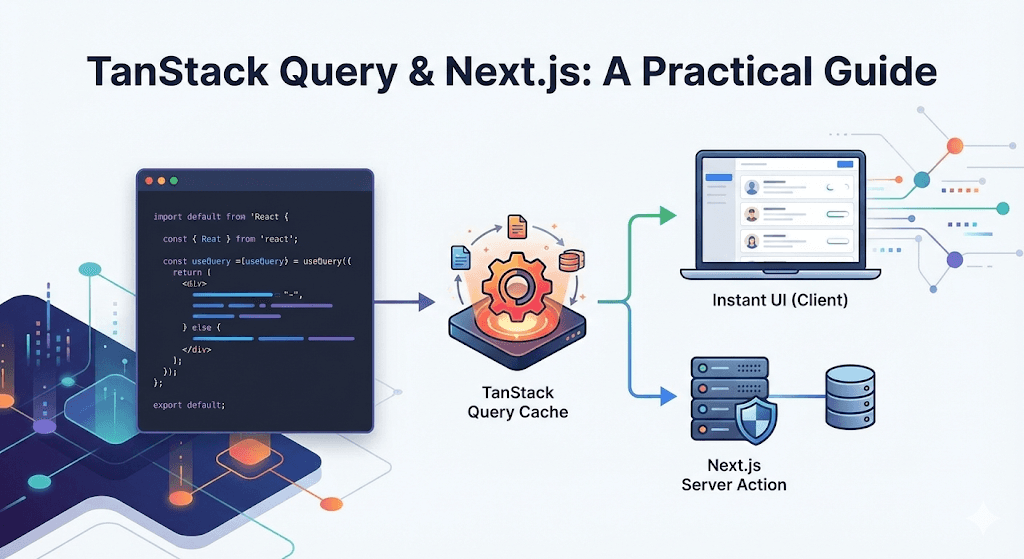
Integrating TanStack Query (formerly React Query) into a Next.js application is a game-changer for modern web development.
For React and Next.js developers, managing server state—fetching data, handling loading spinners, caching, and preventing duplicate requests—can often become complex and messy. TanStack Query solves these challenges effectively, handling the difficult parts of server state so developers can focus on building the UI.
This guide walks through exactly how to set it up with the Next.js App Router, handle the Client/Server component boundary, and implement both data fetching and mutations.
What is TanStack Query?
Before diving into the code, it is important to clarify what TanStack Query is and why it is an essential tool.
Unlike Redux or Zustand, which are primarily designed for client-side state (like UI themes or open modals), TanStack Query is designed specifically for server state management.
The core concept is simple but brilliant:
- Memory Cache: The library keeps a cache of server data in memory.
- Stale-While-Revalidate: When a component needs data, it serves the cached version immediately (providing instant loads) while fetching fresh data in the background.
- Deduplication: If multiple components ask for the same data, TanStack Query only sends one request.
This makes applications feel incredibly snappy, removing the worry of data availability and synchronization.
Getting Started: Installation & Setup
To begin, start with a fresh Next.js project.
1. Installing the Core Library
Run the following command in your terminal:
pnpm add @tanstack/react-query
It is also highly recommended to install the ESLint plugin. This catches common mistakes (like missing dependency keys) that can lead to hard-to-debug issues.
pnpm add -D @tanstack/eslint-plugin-query
2. The Next.js Challenge: Client vs. Server
Next.js's App Router architecture introduces a hurdle here. You cannot simply wrap the root layout in a QueryClientProvider because layout.tsx is a Server Component by default, and the provider relies on React Context (a client-only feature).
The Solution: Create a dedicated Client Component registry.
Create a new file at components/providers/TanStackProvider.tsx:
'use client';

import React, { useState } from 'react';
import { QueryClient, QueryClientProvider } from '@tanstack/react-query';

interface TanStackProviderProps {
  children: React.ReactNode;
}

export default function TanStackProvider({ children }: TanStackProviderProps) {
  const [queryClient] = useState(() => new QueryClient());

  return (
    <QueryClientProvider client={queryClient}>
      {children}
    </QueryClientProvider>
  );
}
3. Integrating into the Root Layout
Now, import this client wrapper into the server-side layout.tsx without breaking the rendering boundary.
import type { Metadata } from 'next';
import { Inter } from 'next/font/google';
import './globals.css';
import TanStackProvider from '@/components/providers/TanStackProvider';

const inter = Inter({ subsets: ['latin'] });

export const metadata: Metadata = {
  title: 'Next.js + TanStack Query',
  description: 'A robust setup guide',
};

export default function RootLayout({
  children,
}: {
  children: React.ReactNode;
}) {
  return (
    <html lang="en">
      <body className={inter.className}>
        <TanStackProvider>
          {children}
        </TanStackProvider>
      </body>
    </html>
  );
}
Fetching Data: The First Query
With the provider in place, the application is ready to fetch data. This example uses a dummy JSON API.
Step 1: The Fetcher Function
It is best practice to keep fetch logic separate from UI components. Create a file named server/users.ts:
interface User {
  id: number;
  name: string;
  email: string;
}

export async function getUsers(): Promise<User[]> {
  const res = await fetch('https://jsonplaceholder.typicode.com/users');

  if (!res.ok) {
    throw new Error('Failed to fetch users');
  }

  return res.json();
}
Step 2: Implementing useQuery
Now, inside a page component, consume this data. Note the 'use client' directive—hooks only run on the client.
'use client';

import { useQuery } from '@tanstack/react-query';
import { getUsers } from '@/server/users';

export default function HomePage() {
  const { data: users, isLoading, isError, error } = useQuery({
    queryKey: ['users'],
    queryFn: getUsers,
  });

  if (isLoading) return <div className="p-4">Loading users...</div>;
  if (isError) return <div className="p-4 text-red-500">Error: {error?.message}</div>;

  return (
    <div className="p-10 space-y-4">
      <h1 className="text-2xl font-bold">User List</h1>
      <div className="grid gap-4">
        {users?.map((user) => (
          <div key={user.id} className="p-4 border rounded shadow-sm">
            <p className="font-semibold">{user.name}</p>
            <p className="text-gray-600">{user.email}</p>
          </div>
        ))}
      </div>
    </div>
  );
}
The magic happens when navigating away and coming back. The data appears instantly because it is served from the cache while a background refetch ensures freshness.
Making Changes: Mastering Mutations
Fetching data is great, but modifying it is equally important. Creating, updating, or deleting resources is handled by Mutations.
In Next.js, TanStack Query can be paired with Server Actions for a truly powerful stack.
Step 1: The Server Action
Add a createUser function. Notice the 'use server' directive—this ensures the logic runs securely on the server, never exposing secrets to the client.
interface NewUserData {
  id: number;
  name: string;
}

export async function createUser(data: NewUserData) {
  'use server';

  await new Promise((resolve) => setTimeout(resolve, 1000));

  console.log('Creating user on the server:', data);
  return { success: true, message: `User ${data.name} created!` };
}
Step 2: The useMutation Hook
Back in the UI, use useMutation to call this server action. Crucially, use queryClient.invalidateQueries to refresh the list automatically after a success.
'use client';

import { useQuery, useMutation, useQueryClient } from '@tanstack/react-query';
import { getUsers, createUser } from '@/server/users';

export default function HomePage() {
  const queryClient = useQueryClient();

  const { mutate: createNewUser, isPending: isCreating } = useMutation({
    mutationFn: createUser,
    onSuccess: () => {
      queryClient.invalidateQueries({ queryKey: ['users'] });
      alert('User created successfully!');
    },
  });

  return (
    <div>
      <div className="mt-8 pt-8 border-t">
        <button
          onClick={() => createNewUser({
            id: Date.now(),
            name: `User ${Date.now()}`
          })}
          disabled={isCreating}
          className="bg-blue-600 text-white px-4 py-2 rounded hover:bg-blue-700 disabled:opacity-50"
        >
          {isCreating ? 'Creating...' : 'Create New User'}
        </button>
      </div>
    </div>
  );
}
When the button is clicked:
- The UI shows "Creating..." immediately.
- The Server Action runs securely on the backend.
- Upon success, TanStack Query automatically re-fetches the user list.
- The UI updates with the new user without needing to manage any local arrays or state.
Conclusion
Implementing TanStack Query with Next.js provides an elegant solution for managing server state, abstracting away the complexity developers often struggle with when using useEffect.
Key Takeaways:
- Server State Specialist: It complements client state managers (like Zustand); it doesn't replace them.
- Architecture: Always wrap the provider in a
'use client'component to satisfy Next.js boundaries. - Efficiency:
useQueryhandles caching and background updates out of the box. - Power: Pairing
useMutationwith Next.js Server Actions is a powerful combination for building interactive, secure applications.
For data-heavy applications, this stack significantly simplifies the developer experience and boosts application performance.